
 In closing argument, it can be effective to show the jury the verdict form and tell them how you hope they fill it out. This technique is particularly important when the jury will face a complicated, multi-page special verdict form—introducing the jury to the form may avoid errors that will be costly to clarify later.
Below is a sample verdict form for a trade secret case (adapted from the General Verdict form VF-5001 in the Judicial Council of California Civil Jury Instructions (“CACI”):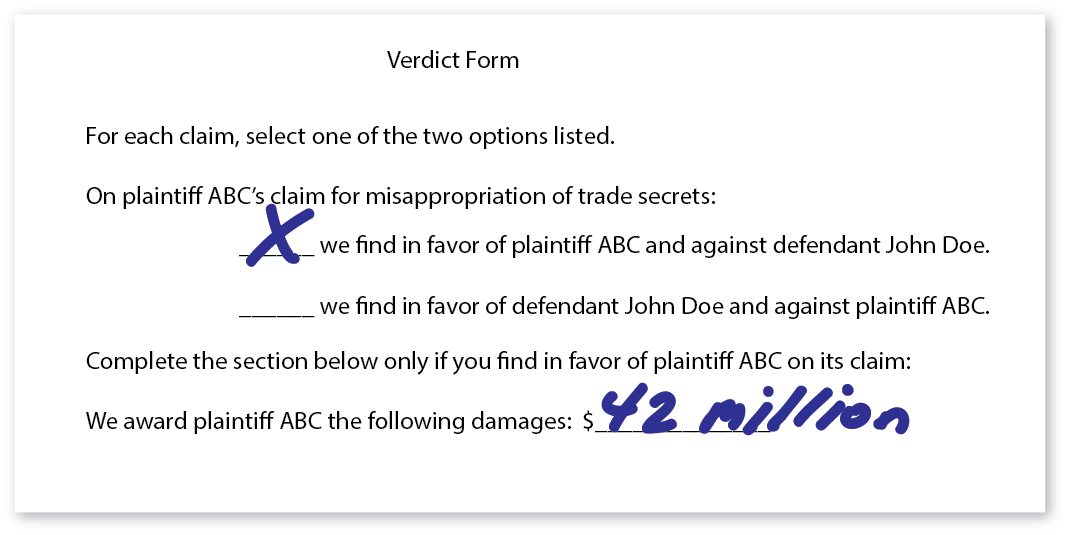
In this post, I’ll provide an example of what an attorney might be saying as this graphic builds during closing argument. For the tech-lovers among our readers, I’ll also talk a bit about the use of Adobe Illustrator to create the graphic.
Tell the Jurors What You Need Them to Do
When the jurors leave the courtroom to begin deliberations, there should be no confusion as to what they need to do to decide in favor of your client. When the jury’s decision will be reflected on a verdict form, teaching the jury to fill out the form correctly is often worth an advocate’s time in closing.
Lead the Jurors Step By Step
Once you decide to show the jury a verdict form, you need to decide how to display it and integrate it into your closing argument. Options include:
- Writing on a Pre-Printed Board on an Easel—some attorneys prefer physical boards and interacting with those boards with markers. For these attorneys, displaying the verdict form on an easel and filling it in for the jury with a marker can be effective.
- Display of the Completed Form—an attorney might also display the completed form as shown above in the graphic. A disadvantage of this approach is that the jury is likely to read ahead and then quit listening to the argument.
- Sequential Display of the Blank Form Followed By the Filled Form Fields—our recommended approach is to lead the jury step by step through the needed entries on the verdict form. Intuitively, one might expect that this approach would be more engaging and less boring. There is evidence supporting this view too: a large study has shown that linking an immersive, continuous flow of visuals with your oral argument is more effective than occasional isolated images.
A Video Example of a Segment of Closing Argument With a Verdict Form
Below is a short video showing a step-by-step progression of an argument incorporating a verdict form. The argument is rough—it could use both a better introduction following from another topic, and a stronger finish, but it should nevertheless give you an idea of how the argument could accompany filling in of the form.
Tech Tips: Adobe Illustrator Techniques Used for This Graphic
If you follow my Twitter feed (www.twitter.com/lawnuke), you will see that I am spending some of my spare time learning Adobe design software and reading Edward Tufte’s design books. I’m not planning to become an artist myself, but I like to understand how things work and to be able to tinker with them as necessary. I made my own graphics for this post, so here, for the propeller-heads in the audience, a bit of how I did it in Adobe Illustrator:
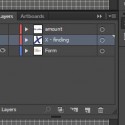
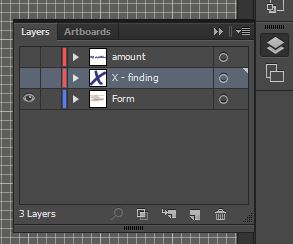
- Separate layers for the form and the filled-in fields: Separating design elements with Adobe’s “layers” can allow easier editing of a graphic, and can also allow easy creation of multiple alternate versions of the graphic. For example, here the blank form is the bottom layer, the “x” indicating the finding of liability is a second layer, and the $42 million amount is a third layer. Because the layers are separate, multiple versions of the graphic can be made quickly by making the data entries either visible or invisible. The layers panel from Illustrator for this graphic is shown below. You can read more about layers on Adobe’s web site.
- Handwriting: I captured my sloppy handwriting using Illustrator’s “paintbrush” tool and a Wacom Intuos Pro tablet that lets you control Illustrator with a pen interface.
 An alternate approach without the Wacom would have been writing on paper and scanning an image, but that would perhaps become pixelated as it was enlarged.
If you’d like to receive updates from this blog, please click to subscribe by email.